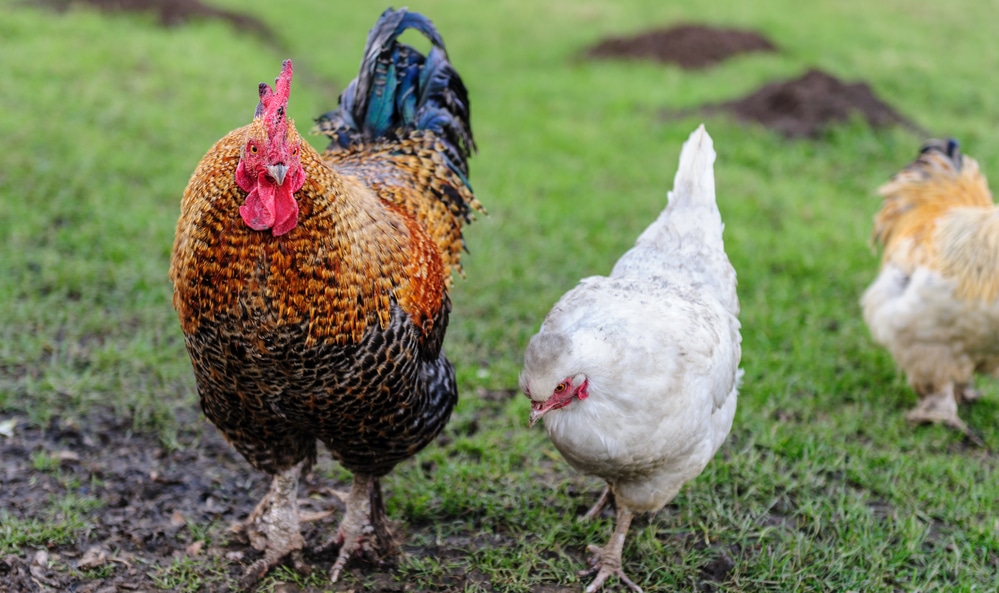


**Build Your Chicken Coop: A Comprehensive Guide to DIY Success ** Are you considering raising chickens for fresh eggs, pest control, or as a delightful pet? Building a chicken coop is one of the first steps you’ll need to take. A well-designed coop can provide safety, comfort, and accessibility for your feathered friend while fitting seamlessly into your backyard. Here’s a step-by-step guide to help you create your chicken coop!
### Why Build Your Chicken Coop? 1. **Customization**:
You can tailor your coop to fit your needs, whether you have a small yard or want to house a larger flock. 2. **Cost-Effective**: Building your coop can save you money compared to purchasing a pre-built one. **Satisfaction**:
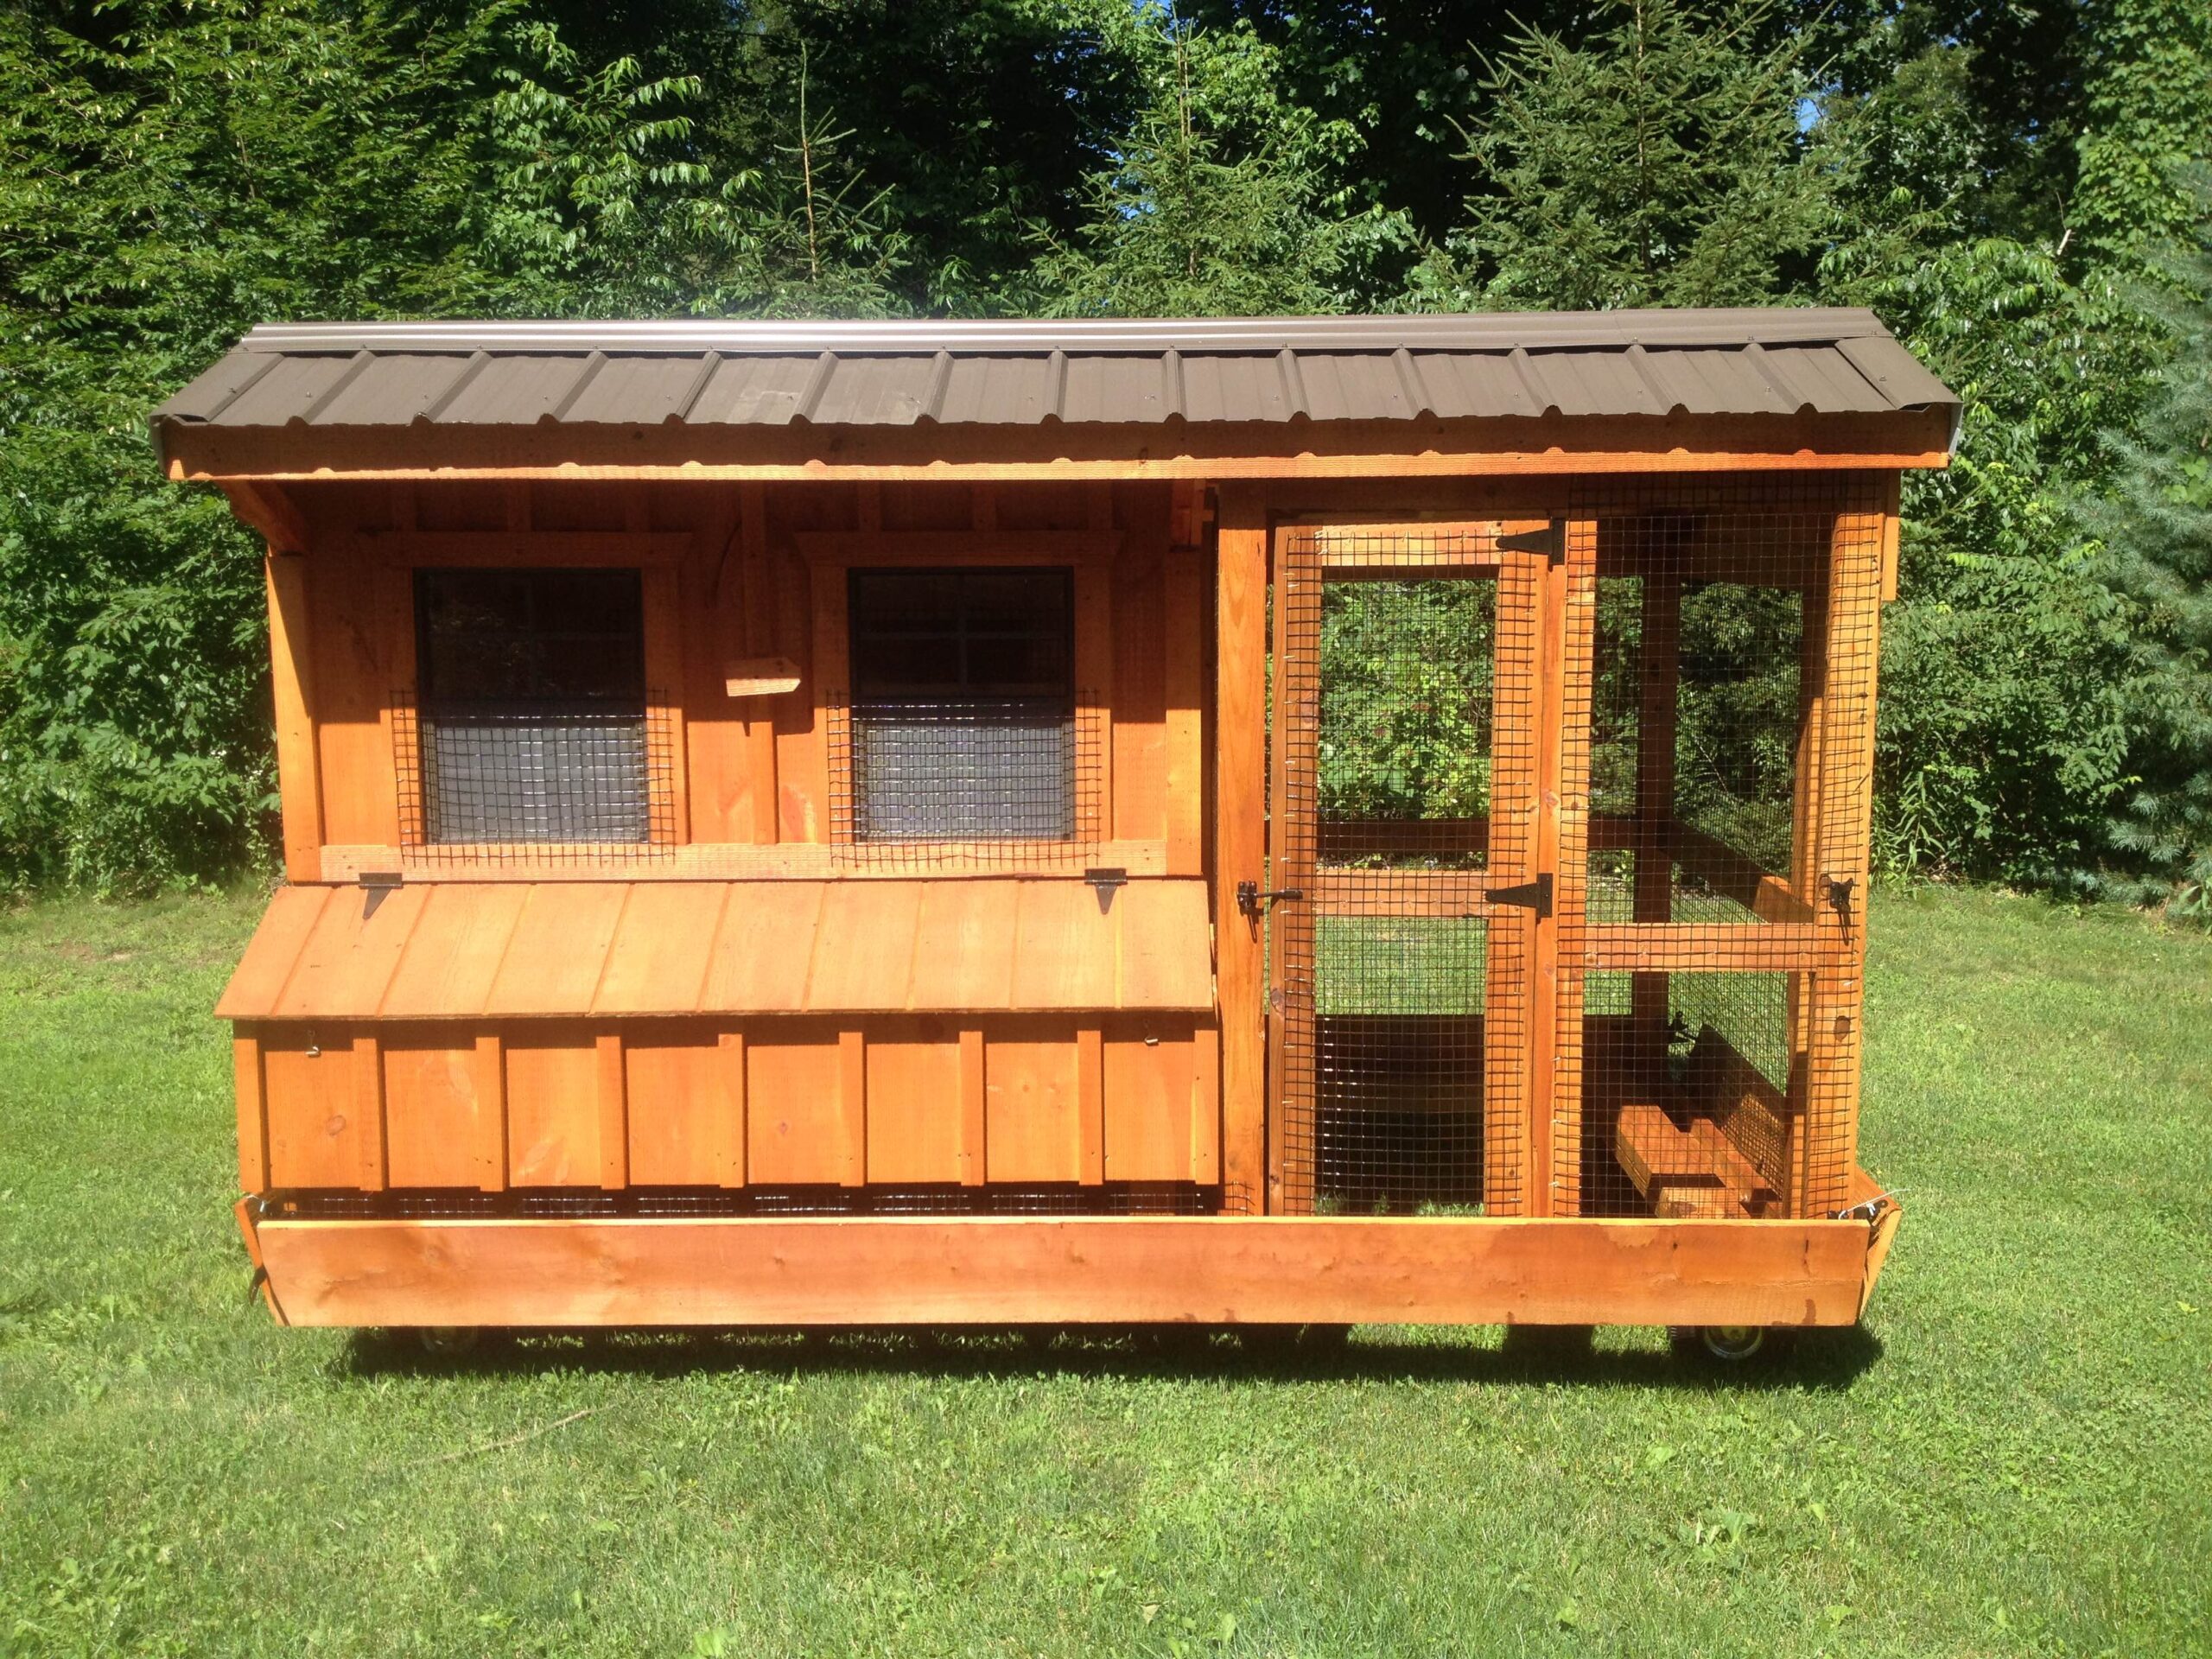
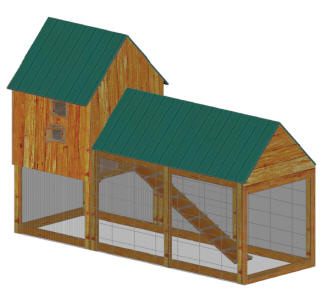
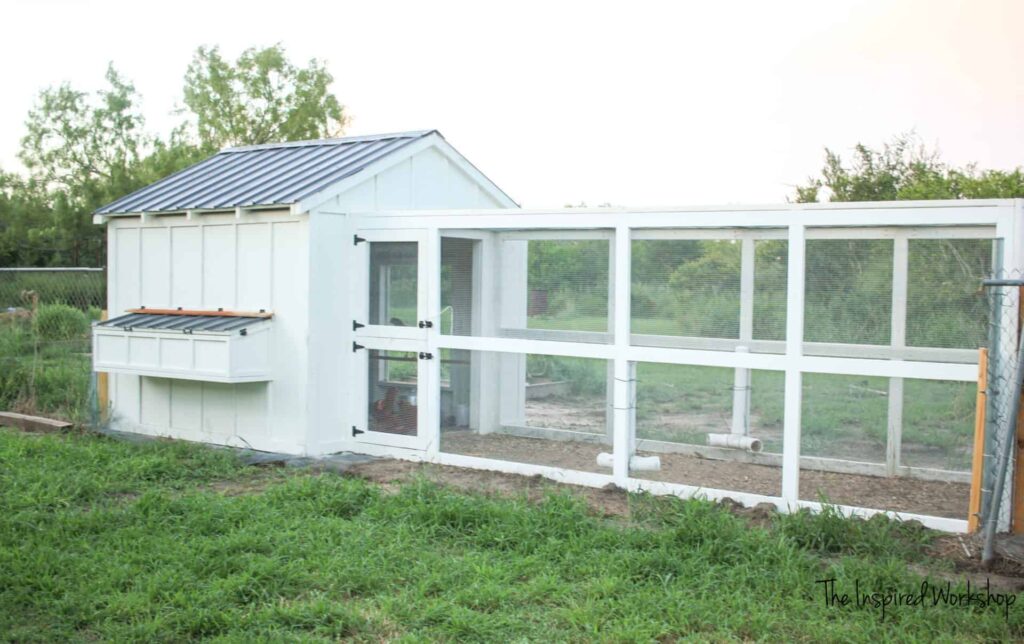
There’s a great sense of accomplishment that comes from building something yourself. ### Materials You’ll Need Before you begin, gather the necessary materials: **Wood**Pressure-treated lumber for the frame, plywood for walls and roof – **Nails and screws**: To hold everything together – **Wire mesh**: To protect your coop from predators – **Roofing material**: Shingles or metal to keep the coop weatherproof – **Hinges and latches**: For access doors – **Paint or sealant**: To protect the wood from the elements ### Step-by-Step Instructions#### Step 1: Plan Your Design. Determine the size of your coop based on the number of chickens you plan to keep. A general rule is to allow 2-4 square feet per bird inside the coop and 8-10 square feet in an outdoor run. Sketch a design that includes: – Nesting boxes – Roosting bars – A ventilation system – An access door
#### Step 2: Build the Frame 1. **Foundation**: Start with a sturdy base using treated lumber. Ensure it is level and square. 2. **Walls**: Attach vertical supports, then add horizontal members to create wall frames. Place plywood sheets over these frames and secure them with nails or screws. .3 The roof: Construct a roof frame and attach it securely using sheets of plywood topped with your chosen roofing material. #### Step 3: Create Nesting Boxes and Roosting Bars. Nesting Boxes: Build a few boxes (one for every 3-4 hens), elevating them off the ground. Fill these with straw or wood shavings. ** Roosting Bars**: Install bars at least 2 feet off the ground for chickens to perch at night. Ensure they are sturdy and easy to clean.
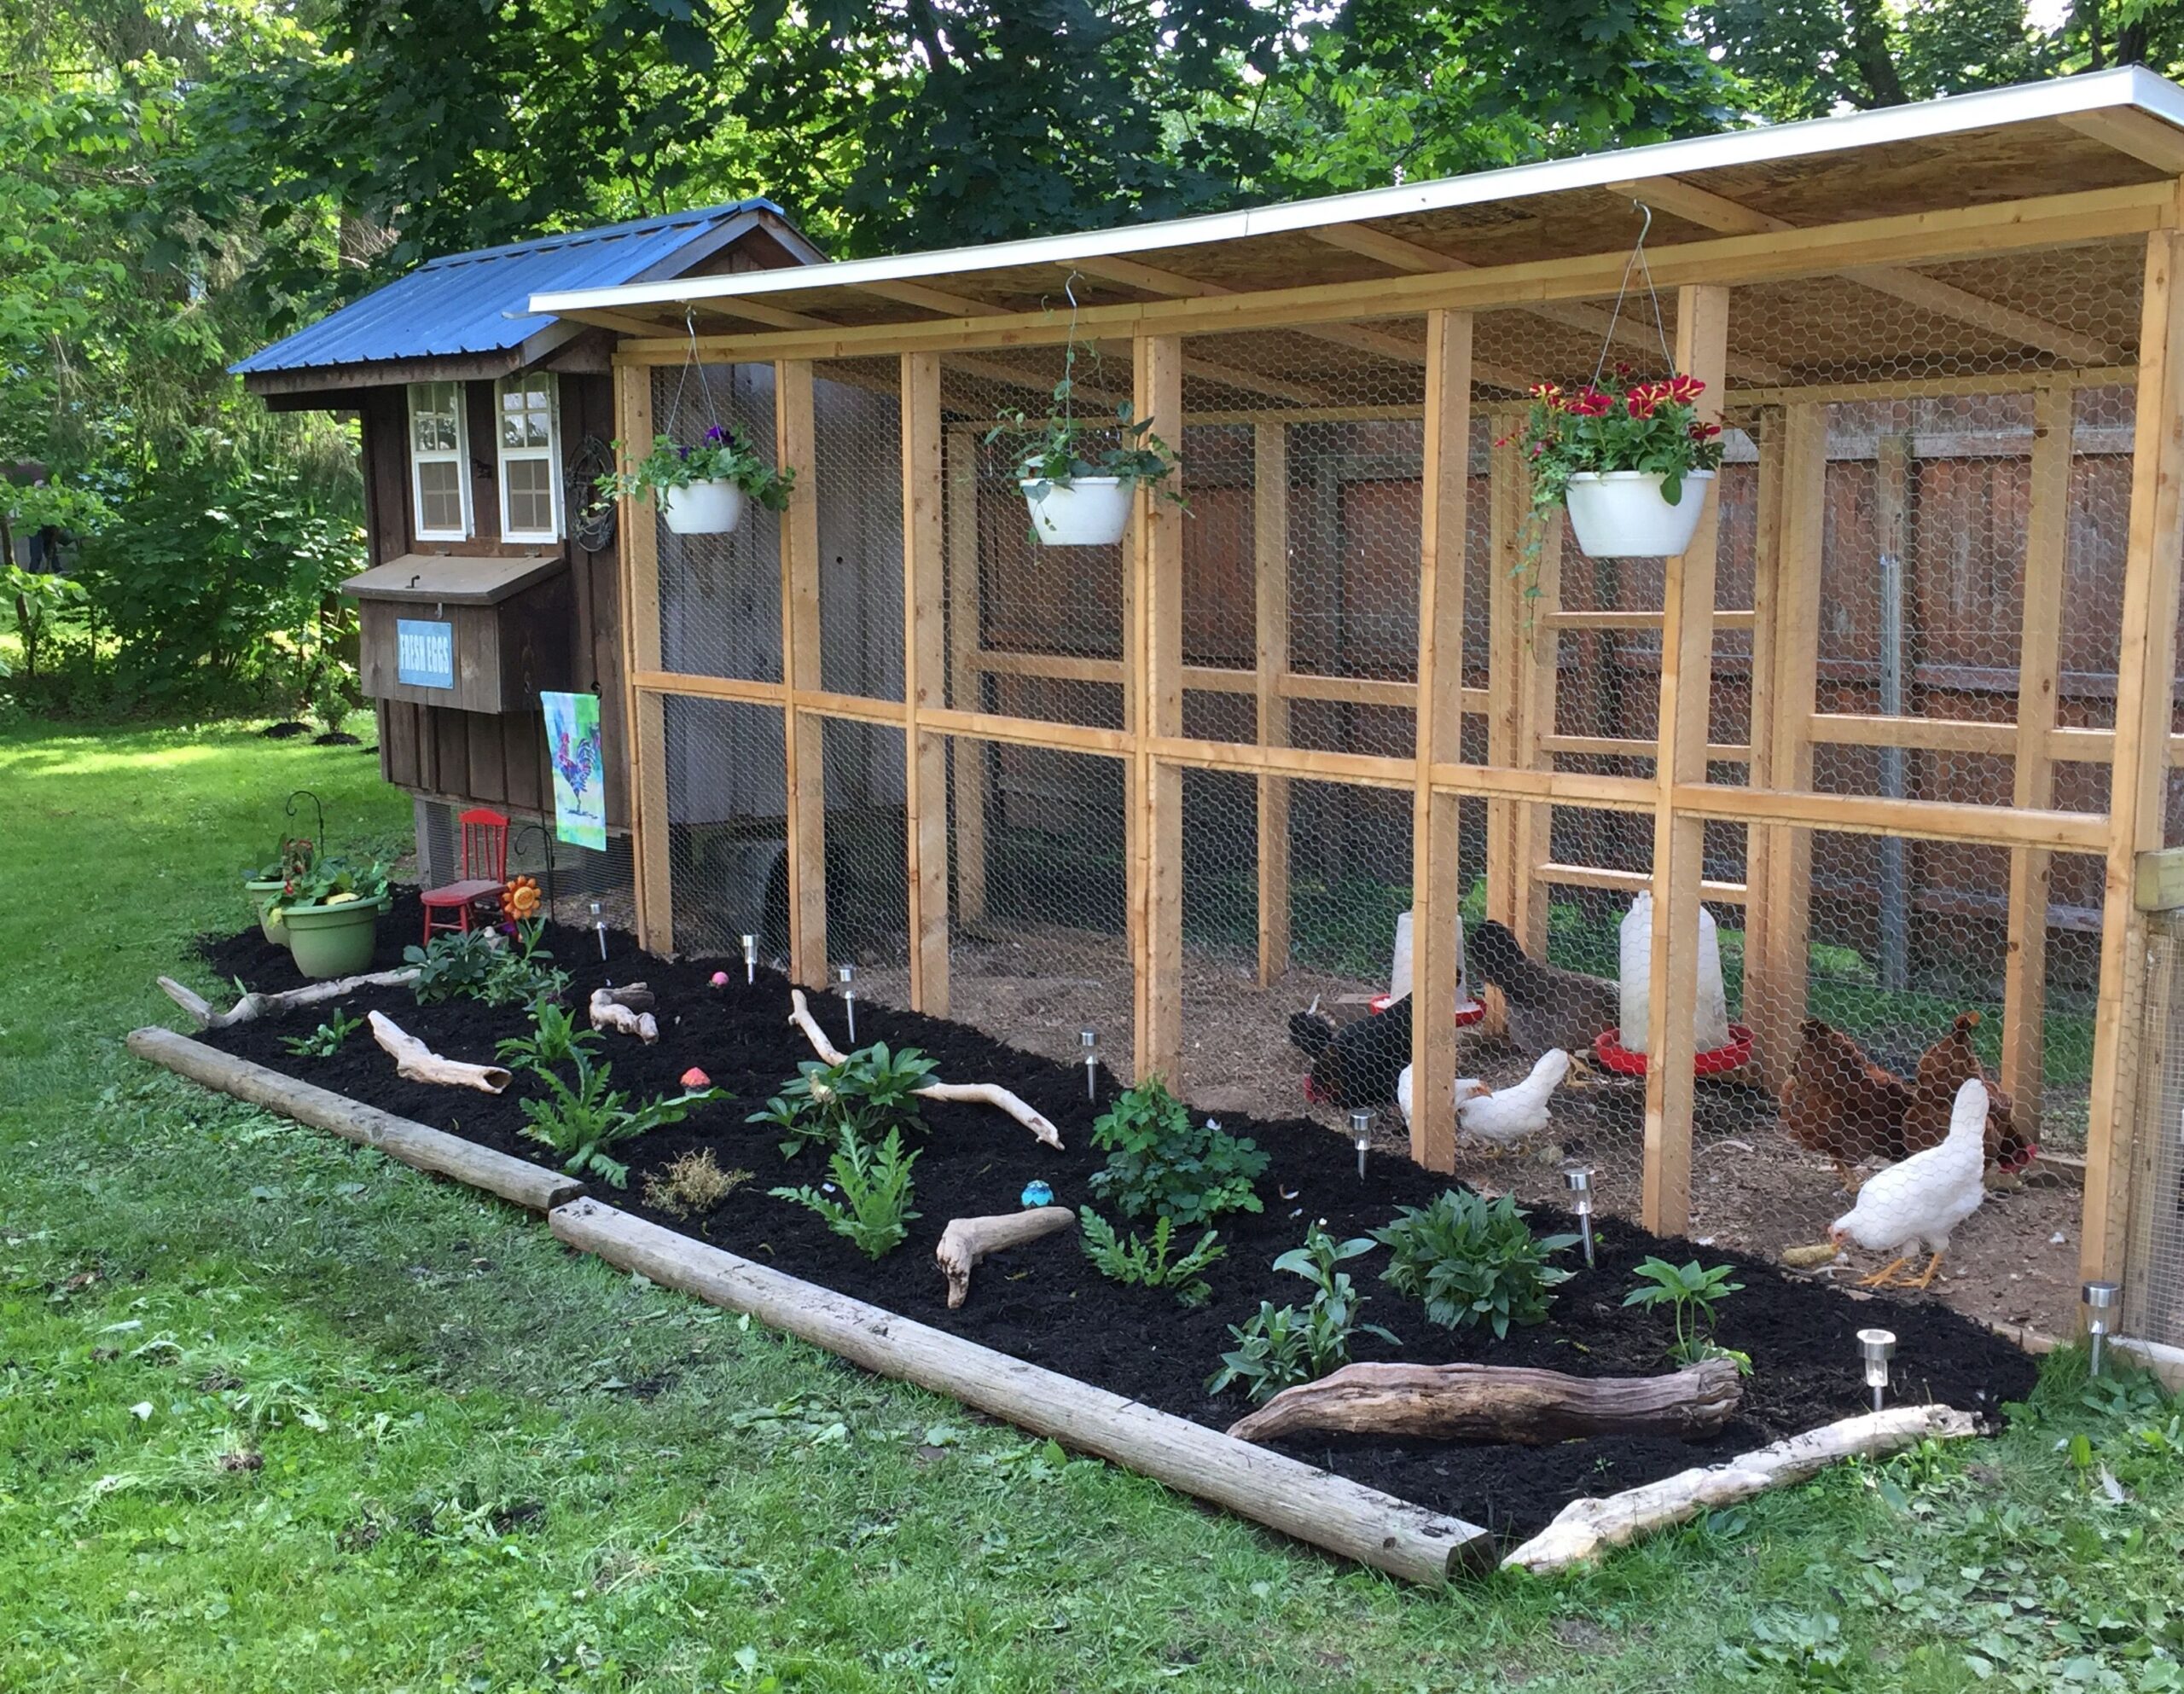
### Step 4: Install the Wire Mesh – Cover openings with wire mesh to prevent predators from getting in. Make sure the mesh is secured tightly, with no gaps.
#### Step 5: Finish Up – Paint or seal the outside of the coop for added weather protection. Ensure that all doors are secure and easy to open for maintenance.
### Additional Tips – **Ventilation**: Ensure air vents are at the top of the coop to allow for airflow. Proper ventilation helps prevent respiratory issues in chickens. – **Accessibility**: Design the coop for easy cleaning and egg collection. A removable floor or large access door can make this easier.
– **Location**: Choose a spot that offers shade during the day and is protected from strong winds. ### Conclusion Building your chicken coop can be a fun and rewarding project that adds charm to your backyard while providing a haven for your chickens. With time, effort, and creativity, you can create a co-op that meets all your needs. Gather your materials, follow these steps, and soon, you’ll have a cozy home for your feathery companions and a reliable supply of fresh eggs!
Transform your backyard into a thriving oasis with our chicken coop building plans—where your journey to fresh eggs and wholesome living begins!”